Migrate from Klaviyo to ActiveCampaign
Despite the size of your business and the amount of data that needs to be migrated, the migration process can be a challenging task. At the same time, it's a great time to reassess your marketing strategies, identify what needs to be improved and consider new trends.
In this article, we'll walk you through the key steps of the migration process to help you migrate your customer data and share our best practices.
Terminology
Before we begin, it’s important to point out the different terminologies that both platforms use:
| ActiveCampaign | Klaviyo |
|---|---|
| Automations | Flow |
| Campaign | Campaign |
| Custom Objects | Custom Properties |
| Segments | Segment |
| Forms | Signup Form |
| Unsubscribed | Suppressed Profiles |
Exporting from Klaviyo
Export your list or segment
- Navigate to your "Lists & Segments" tab
- Click into the list or segment of your choice
- Select the "Manage List" dropdown
-
Choose "Export List to CSV"
 If you do not see this option, it means your role doesn't have the correct permissions to do so; only Owner, Admin, and Analyst users can export lists and segments
-
Choose whether to export all properties associated with your contacts' profiles or just specific ones.
- If you are just interested in a specific property, choosing to export only that property will reduce the amount of time it takes to download your CSV; the more content in your CSV, the longer it will take to download.
- Navigate to Account > Downloads to access exports from the last 30 days
Note:
Only Klaviyo users with the Owner, Admin, or Analyst roles have the ability to export lists or segments.
Don't close your Klaviyo account yet!
To be on the safe side, we’d recommend waiting until you’ve used ActiveCampaign for 2-4 weeks before closing your Klaviyo account.
Importing to Activecampaign
Checklist
- Create your ActiveCampaign account
- Import your contacts
- Segment your contacts into lists
- Setup your templates
- Rebuild your automations
- Update your templates for ActiveCampaign
1. Create your ActiveCampaign account
If you haven't already, create an account with ActiveCampaign.
Wondering how much ActiveCampaign is going to cost as you grow? Check out our free ActiveCampaign pricing guide.
See ActiveCampaign's pricing2. Import your contacts
The first step when setting up ActiveCampaign is to import your contacts. It’s generally safest to do this before you create any automations or campaigns, so that no messages are sent accidentally.
- Click "Contacts" in the left-hand navigation
- Click "Import" in the top right menu
- Click "Import File" and select the CSV file you exported from
- Map the columns in your CSV to the fields in ActiveCampaign
- Select a list you'd like to import these contacts into (optional)
- Click "Import Now"
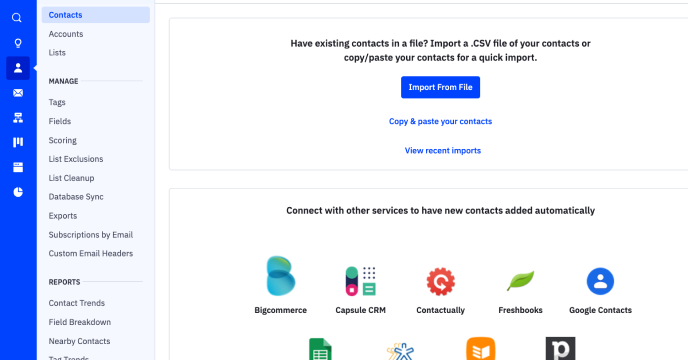
 ActiveCampaign’s three options for importing contacts
A note on custom fields
When you import your CSV into
ActiveCampaign, there’s an option to add a new custom field for any columns
that aren’t detected by default. This is the fastest way to migrate any
custom fields you were using in .
Once the file has finished importing you should be able to verify that the contacts were imported by clicking on ‘Contacts’ in the left-hand navigation.
Tags
If you used tags in , you’ll notice an option to import these with your contacts. Some users prefer to start from a clean slate (particularly if their tagging system had become unmanageable) while others choose to preserve this data. This is completely up to you, and will likely depend on how you use tags.
3. Segment your contacts into lists
With your contacts imported, it's now a good time to segment them into lists. You could recreate the 'Segments' that you used in or start from scratch.
We recommend keeping your lists broad (e.g. leads, customers, lost customers) so they're easy to manage. It's worth noting that ActiveCampaign allows you to send emails to segments of a list, so there's no need to be too grnular with your lists.
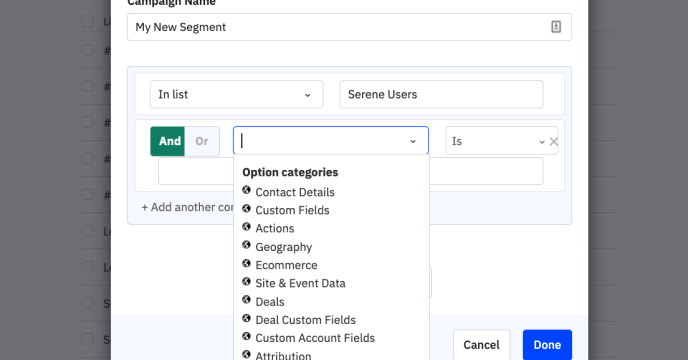
 You can send an email campaign to a segment of your list in ActiveCampaign using logic filters
4. Setup your templates
ActiveCampaign comes with a wide range of well-designed templates that you can use out of the box. If, however, you wish to import any custom branded templates that you were using in now is a good time to import these.
You can either rebuild these using ActiveCampaign’s Email Designer, or you can copy and paste the HTML that you saved when you exported these from .
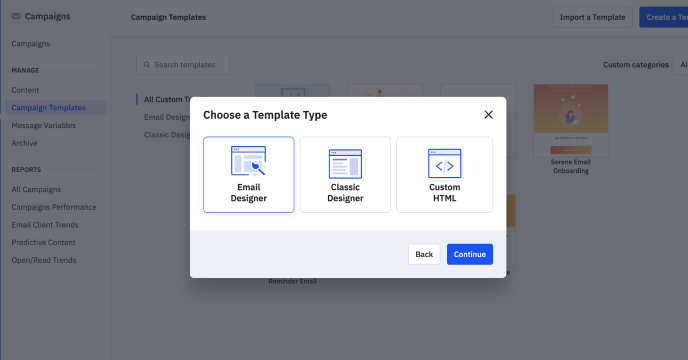
 ActiveCampaign offers three ways to build custom email templates
This is also a good time to upload any visual assets that you’ll likely want to use in your email campaigns. If you have a folder of logos, product images, and other brand assets you can import these by clicking “Content” in the left-hand menu.
Consider using message variables
Message variables allow you to
create a block of content in ActiveCampaign (e.g. an email header or
signature) that can be reused across multiple email campaigns. That way if
you update the message variable content it will update it across all email
campaigns.


